Lucky me! I'm off to Queensland for a week! So you won't be hearing from me for a little while!
In the meantime, here's a pic of one of my boys, Bert, to make you smile!
In the meantime, here's a pic of one of my boys, Bert, to make you smile!

Lucky me! I'm off to Queensland for a week! So you won't be hearing from me for a little while! In the meantime, here's a pic of one of my boys, Bert, to make you smile!
1 Comment
For dessert tonight, I felt like pudding! So I found this recipe, it's by Bill Granger, but I got it from www.sweetestkitchen.com, via. pinterest. Greek Yoghurt Chocolate Puddings Author: Bill Granger Serves: 6 Ingredients * 1 cup of plain flour * 4 tbsp of cocoa powder * 75g of dark chocolate, finely chopped * 1 and a half tsp of baking powder * 3/4 cup of caster sugar * 1/2 cup of greek yoghurt, room temperature * 2 tbsp butter, melted and cooled slightly * 1 egg, room temperature * 1/2 cup of brown sugar Instructions
Note: I used vanilla ice-cream on top, to cut through the bitterness of the dark chocolate. After tasting the pudding, I found it to be extremely rich, so you may want to make smaller servings. I'm wondering if it could be made with milk chocolate? Either way, it was delicious!  Prior to baking... 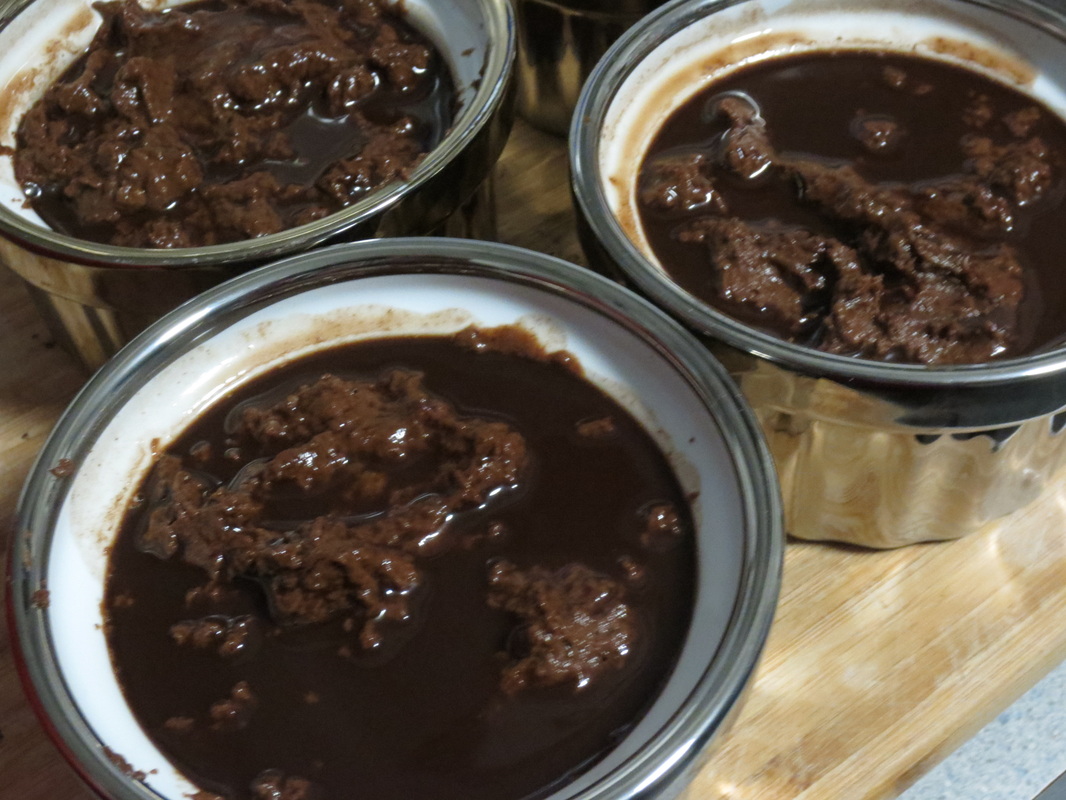
 Yum! I only managed to eat about a quarter of the dish, it was soooo decadent!
Tonight for dinner, my mum requested that I make Potato, Bacon and Blue cheese bake. I've made this many times, and it's one of our favourite potato recipes. I got the recipe from taste.com.au, which is a fantastic website, which incorporates several different food magazines. You can basically type in any ingredients you want, eg. 'broccoli' and a list of broccoli recipes will appear! It's very helpful when you're stuck for what to cook. To serve with the potatoes, I decided to try a new herbed, stuffed tomato recipe, plus corn cobs. Potato, Bacon and Blue cheese bake: Ingredients: * 1 packet of bacon, rind removed. * 1kg of potatoes (the recipe suggests Desiree, but I used red potatoes) * Salt and pepper * Thyme leaves (the recipe suggests 1 tablespoon, but I used more) * 80g of blue cheese (any brand) * 2/3 of a cup of cream * 2/3 of a cup of chicken stock The recipe also calls for red onion chunks, but I left these out. If you want to add them, you will need 2 red onions, cut into about 8 wedges each). Preheat oven to 190 degrees (celcius) and dice the bacon. Combine the potatoes, onion, bacon and half the blue cheese in a bowl. Season with salt and pepper. Spoon into a baking dish (10 cup capacity). Sprinkle over thyme leaves. Use a fork to whisk together chicken stock and cream in a jug, and pour over the potatoes. Sprinkle with remaining blue cheese. Cook, uncovered in preheated oven for 1 hour and 20 minutes (if you want the potatoes crispy, cook for longer). Serve immediately.  Prepared potatoes, ready to cook.  Done! Stuffed Tomatoes (adapted from a recipe that I can no longer find the link for!): Ingredients: * 6 washed, medium-sized truss tomatoes * 1/4 of a cup of parmesan * 1-2 teaspoons of dried, ground sage leaf, or substitute fresh sage * 1-2 teaspoons of dried parsley, or substitute fresh parsley * 1-2 teaspoons of minced garlic * 1/4 of a cup of finely chopped spring onion Cut the tops off the tomatoes, and then slice vertically down the middle. Remove the tough centre of the tomato, so you have a small space for your stuffing. Mix all other ingredients together in a bowl, then stuff tomatoes with the mixture. Drizzle with olive oil. Bake at 180 degrees for about 25-30 minutes.  Before cooking...  After....
Pizza is one of my favourite foods! I could probably live on it. And these days, you can buy gluten free pizza without much hassle. The gluten free crusts are improving all the time. I very rarely make homemade pizza. Maybe it's laziness? Maybe because Domino's does it better? I don't know. But I recently came across the idea of a polenta pizza base, while looking at Brown-Eyed Baker (yes, one of my favourite sites!). I was curious, so I have used the recipe to make my own polenta pizzas. Polenta is made out of corn, so I don't know if it will suit my stomach issues or not. Corn is not always my friend. But we'll see! Polenta Pizza Base (adapted from browneyedbaker.com) Makes 4 generous main dishes (I doubled the recipe) Ingredients: 2 tablespoons of extra virgin olive oil, plus oil to grease the pans 1/2 a cup of whole milk 2 and a 1/2 cups of water Salt 1 cup of coarse cornmeal Freshly ground pepper Method: 1. Brush the pan with olive oil. In a medium saucepan over medium/high heat, combine milk, water and a large pinch of salt. Bring just about to a boil, reduce heat to medium and add cornmeal in a steady stream, whisking all the while to prevent lumps forming. Turn heat to low and simmer, whisking frequently, until thick, for 10 to 15 minutes. If mixture becomes to thick, whisk in a bit more water (I added a lot more water). You want the consistency approaching thick oatmeal. 2. Stir 1 tablespoon of oil into cooked polenta. Spoon into prepared pan (I used pizza pans), working quickly so that polenta does not stiffen; spread it evenly to a thickness of about 1/2 inch all over. Sprinkle with salt and pepper, cover pan with glad wrap and put in the refrigerator until firm (I put the pans in the fridge for a few hours). You can refrigerate overnight if you prefer. 3. Heat oven to 230 degrees (celcius) and bake for 25 to 30 minutes. (This is where I stopped using the recipe). Next, I worked out my own toppings: Pizza 1: I spread homemade marinara (tomato) sauce on the base, topped it with mild, gluten free salami and halved roma tomatoes. Then I sprinkled on Perfect Italiano's Pizza Plus blend (Parmesan, Mozzarella and Cheddar). Pizza 2: I spread the base with crème fraiche. I covered the crème fraiche with mushrooms that I had sautéed in olive oil, with garlic and thyme. Make sure when you sautee them, you cook away all of the moisture that comes from the mushrooms. I cracked pepper over the mushroom mix, then covered the pizza with the Pizza Plus blend. Pizza 3: I mixed olive oil with minced garlic and drizzled then on the pizza base. I placed baby spinach leaves on the base, and crumbled feta over the top. Again, I sprinkled the Pizza Plus blend on the pizza. I cooked all pizzas in the oven until the cheese had melted and browned, at 180 degrees. My favourite pizza was the mushroom variety. It was lovely! I'm not sure about the polenta base. You can't hold the pizza in your hand, it's too floppy (although this may be because of something I did), so you have to use a knife and fork. But the flavours were great! I will post some pics once I can find my camera usb-which has gone awol! Edit: Here are some pics!  The chilled bases, seasoned with salt and pepper.  Cooking the mushrooms, garlic and thyme. That's the homemade marinara sauce to the left. Below is the mushroom pizza, ready to be put in the oven. 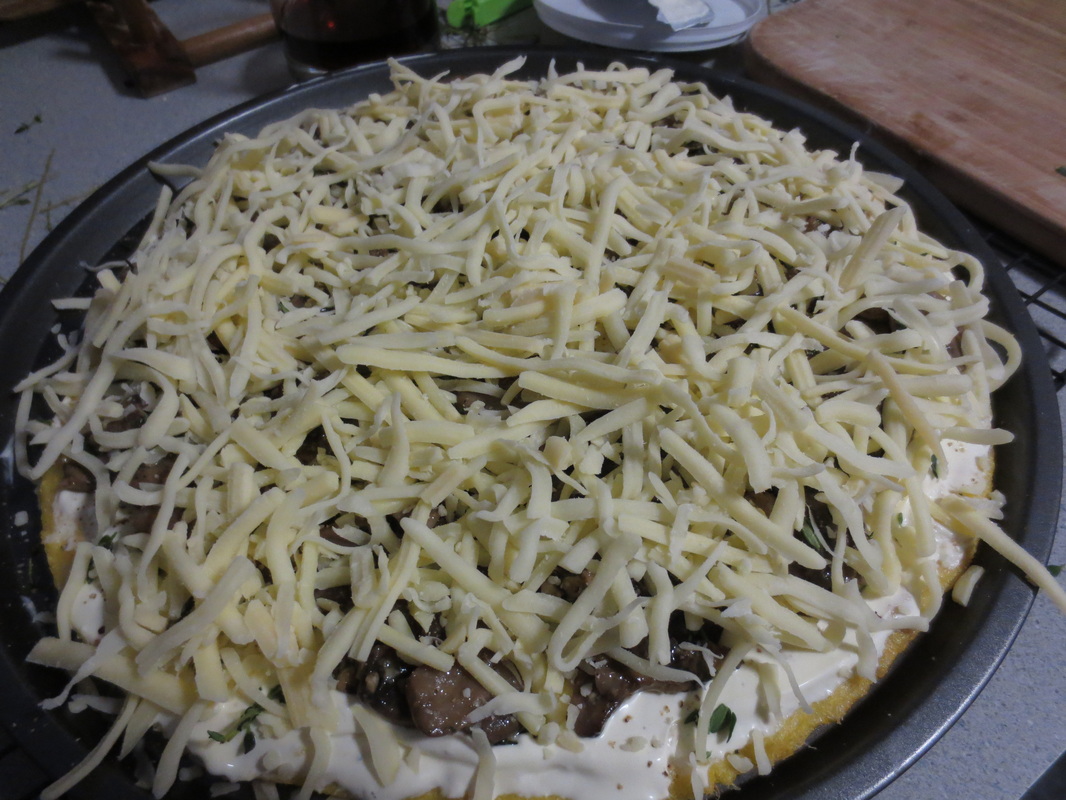  Salami and roma tomato pizza, pre-cheese.  Spinach, fetta and garlic. I had to use a rectangular tin, because I ran out of pizza trays....  The finished products!  I found an interesting looking recipe for ice-cream on pinterest (linked to ourtableforseven.com), and today, while I started making it, I realised there were bits of the recipe missing. Also, not everything worked according to the recipe, so I had to modify it a bit. So, here's the recipe, with my modifications in bold and brackets. Ingredients: 1 and a half cups of milk 3 eggs, lightly beaten (I would recommend you don't use these straight from the fridge, let them sit at room temperature for a while) 1 and a half cups of whipping cream (I used light cream, but it's up to you) 1 tsp vanilla (I would add as much or as little as you like) Half a cup of packed brown sugar (I suggest 3 quarters of a cup) 1 cup of fresh raspberries, chopped (I used frozen raspberries, and crumbled them in my fingers) 1 cup of chocolate chips (I used milk chocolate, but you could use dark) 1 tbsp. of lemon juice Method: 1. In a saucepan, heat milk until it bubbles slightly. Remove from heat. Stir milk into beaten eggs slightly. 2. Return to saucepan. Cook and stir for approx. 2 minutes or until heated. Remove from heat. Add the cream as the mixture is cooling. Add vanilla and mix through. Let it cool, cover and chill for 30 minutes. I tasted the mixture at this point, and thought it was very bland. I was worried that I would end up with a bland custard, with bits and pieces mixed through, so I added more vanilla in an attempt to give it flavour. 3. In a mixing bowl, add raspberries, brown sugar, and lemon juice. I added the chocolate chips here too. Mix well, stir into chilled ice cream mixture. I did not wait the full 30 minutes, I let the mixture chill for about 15 minutes, then stir the ingredients into the liquid. I'm glad I did, because, while still slightly warm, the berries disintegrated slightly, giving the mixture a lovely raspberry flavour. The chocolate melted only a little bit. I decided to add a bit more brown sugar here, purely because I thought it needed it. Next, I poured the mixture into a container, and covered it with glad-wrap, and then placed it in the freezer. The beauty of this recipe is that it doesn't need an ice-cream maker (but if you're thinking of buying one-they're great!). With this recipe, you will need to remove the ice-cream from the freezer at regular intervals for a little while, say every 30 minutes for about an hour and a half, just breaking down the ice-cream, and mixing it up. Then cover it up again, and return it to the freezer. Here's a pic of the ice-cream, pre-freezing: 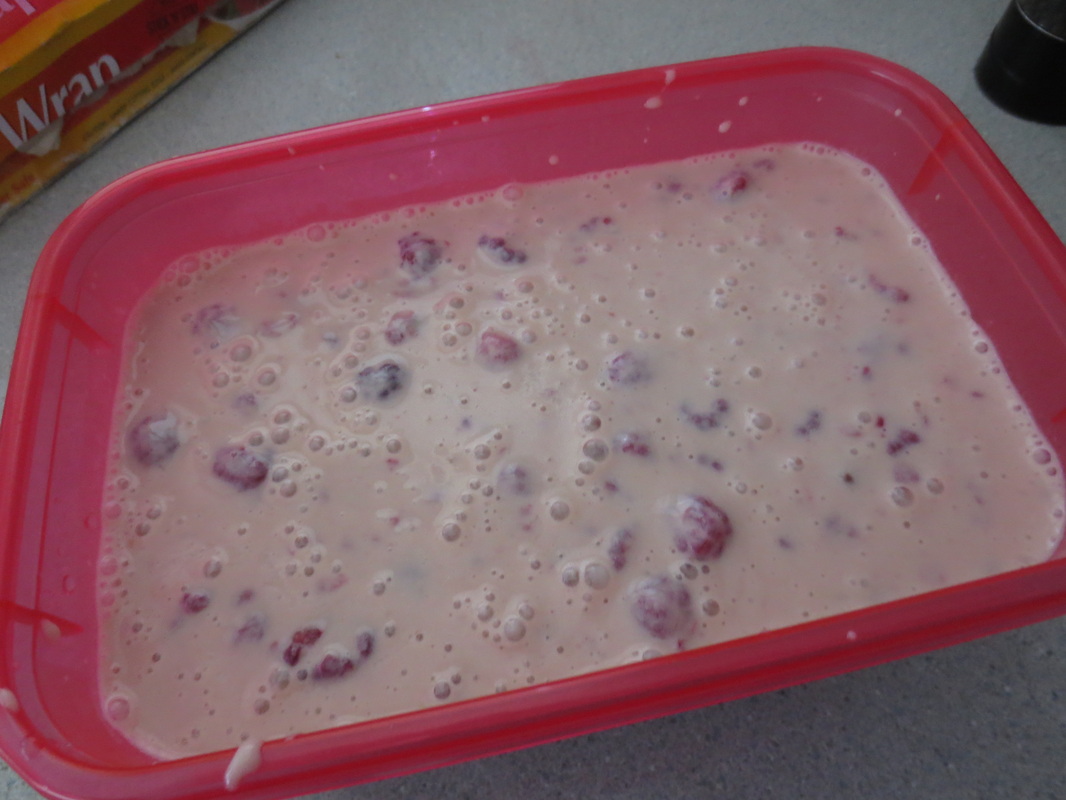 
I have a fantastic vegetarian recipe book that I bought for $15 at Coles. I love it! It's called 'Essential Vegetarian,' published by Murdoch Books, with this recipe featuring on page 124. It has more than 200 recipes, all of which are vegetarian, or vegan. I love vegetarian food, it's my favourite! This tart is made with brown rice, which is better for you, and it's very filling, so I'm not making dessert tonight! I'm going to team the tart with some oven roasted potatoes and steamed broccoli (I gotta have my greens!). Brown Rice Tart with Fresh Tomato Filling Prep time: 25 minutes Cooking time: 1 hour, 50 minutes Serves: 6 Tart shell- 200g/1 cup of brown rice 60g/Half a cup of grated cheddar cheese (I used Devondale Colby) 1 egg, lightly beaten Fresh tomato filling- 6 roma tomatoes, halved (I used about 12 baby romas, I love their flavour) 6 garlic cloves, unpeeled 1 tablespoon of olive oil 8 lemon thyme sprigs (or however many you like, depends on you) 50g goat's cheese, crumbled (I used Dodoni brand) 3 eggs 60ml/Quarter of a cup of milk (I used light milk) If you like cheese, and you want to add more, then by all means do so. Also, I would season the tart shell mixture a bit, and season your egg filling too, to taste. 1. Cook the rice in a saucepan of boiling water for 35 minutes (I found that I had to add more water, to stop the rice from drying out). Rinse and drain. 2. Meanwhile, preheat the oven to 200 degrees (celcius). 3. To make the tomato filling, put the tomatoes, cut side up, on a non-stick baking tray with the garlic. Brush the tomatoes and garlic with the oil and sprinkle with freshly cracked pepper. Bake for 30 minutes, then remove from the oven to cool slightly. Remove the garlic from the skins (I sliced each clove in half here-not everyone likes to eat a whole clove of garlic). 4. Put the rice, cheese and egg in a bowl and mix until well combined. Spread the mixture over the base and side of a lightly greased (10 inch) flan tin or quiche dish (I had to push the rice into the pan, to try to get it to stick, plus I had little clumps of cheese that didn't grate properly!). Bake for 15 minutes. 5. Turn the oven down to 180 degrees. Whisk the egg and milk in a bowl, then pour over the rice crust. 6. Arrange the tomato halves, garlic, lemon thyme and goat's cheese in the centre of the tart (I arranged it around the entire surface, not just the centre). A problem I had here was that the tomatoes kept sinking under the egg, so my tart definitely didn't look as good as the one in the book! 7. Bake for 1 hour, or until set. You might want to take it out earlier and check on it, and not leave it to get a bit over-browned, like I did. The top picture shows what mine looked like, fully-set, at 50 minutes. 
 Here's Scotty, waiting for the tart to cool!
Yet again, I've been thinking about my Nan, and how much I miss her. Nan would have everyone over for dinner, and make lots of food, and she would always fuss over me, to make sure I had enough to eat. Whenever I think of my Nan, in my mind, I can see her standing in the kitchen, cooking. And I don't mean that in some kind of misogynist, 'women belong in the kitchen' thing. It's just, that's what she loved to do. I wish that I had learned to cook before she passed away, so I could cook for her. She used to make me a big dish of stewed rhubarb and apple, because I loved it. I think you either love or hate rhubarb, and I am definitely the former. So on the weekend, I was walking through Safeway (ahem, Woolworths..It'll always be Safeway to me!), and I decided I wanted to make something with rhubarb. I can't eat apples anymore (bad stomach), so I thought...Strawberries? Yes! I came home, and went to my trusty pinterest, and found a recipe from Buttercream Blondie (http://buttercreamblondie.com/strawberry-rhubarb-crisp-bars/). Go to this link to access the recipe, it's a great site! These bars are a brown sugar, shortbread base, with rhubarb and strawberry baked beneath a crunchy topping. I made the bars this morning, and there doesn't appear to be any issue with the gluten free flour. My topping is a lot thicker than the original by Buttercream Blondie though, and I could not use the rolled oats to get that 'crisp' feel (they aren't gluten free). So I chopped up some slivered almonds instead. I haven't tasted them yet...So I'll update you later! Oh, and with the remaining rhubarb and strawberry, I stewed them. :) Here's a tip: If you want to stew fruit, without all the spoonfuls of sugar, my Nan always taught me to stew them in diet lemonade. Update: We ate these tonight for dessert with vanilla cream, and they were delicious!!!! 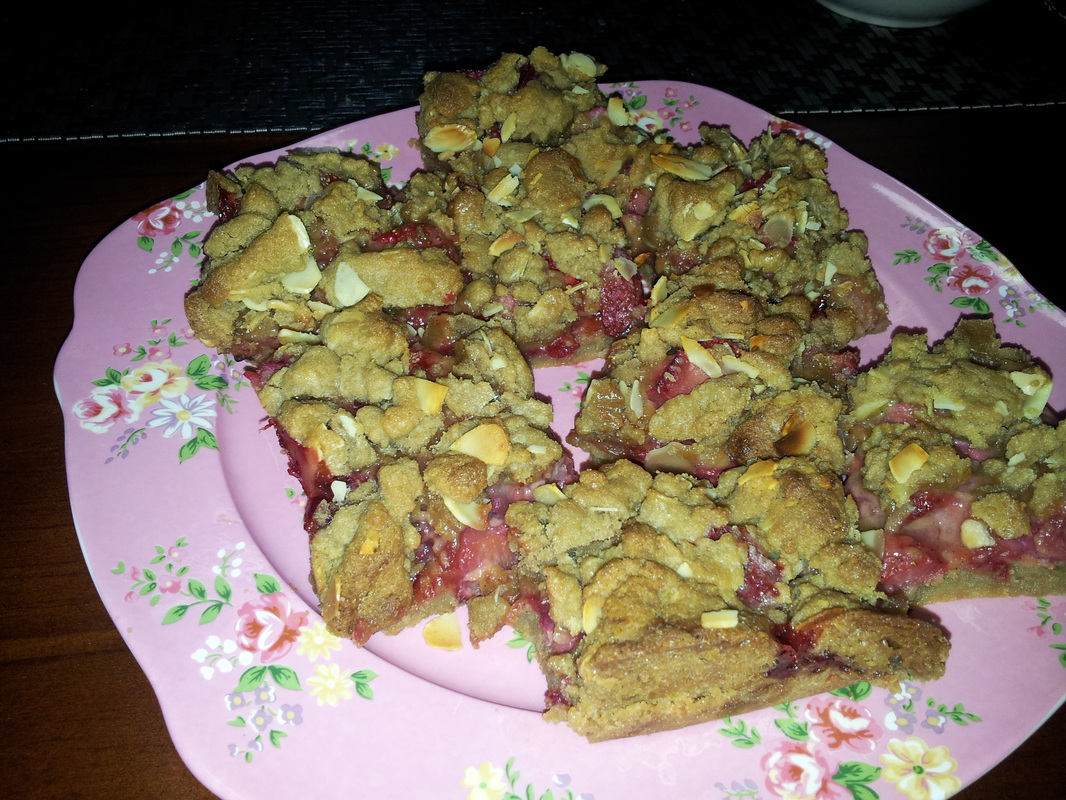 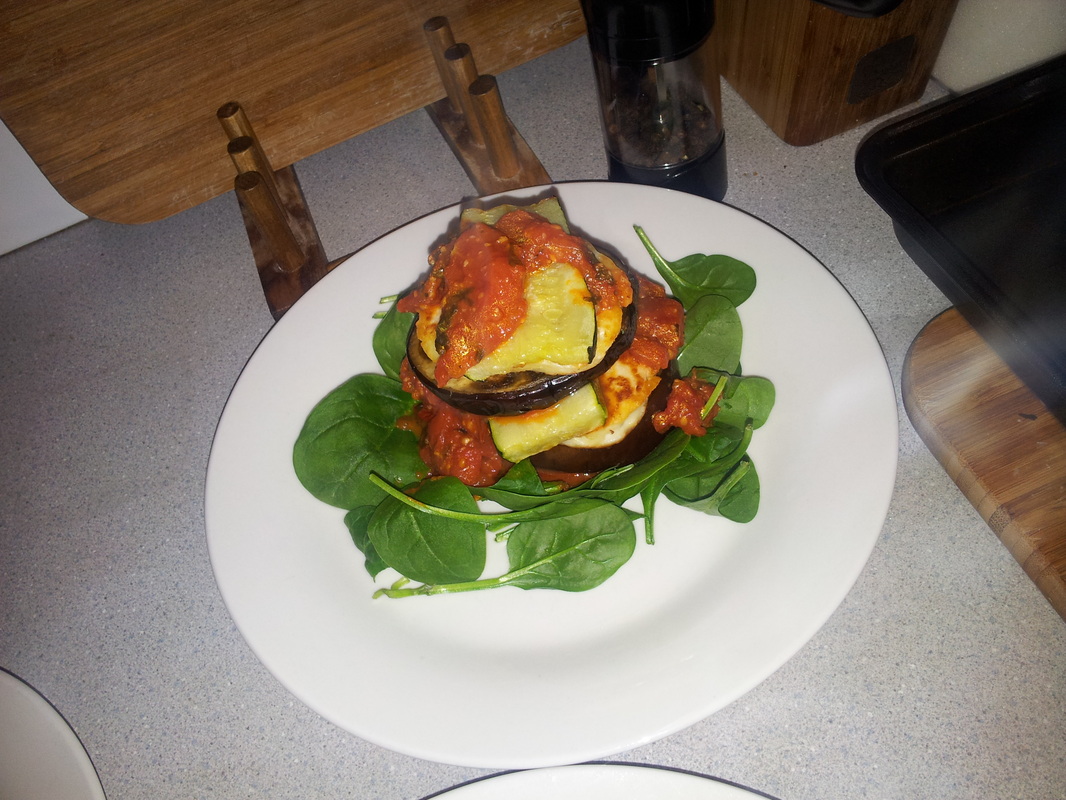
A nice healthy dinner tonight: Oven roasted vegetable and haloumi stacks. It's very simple, and always popular with my family!
* I get a bit more 'greens' into my system by sprinkling baby spinach leaves onto the plate. * I make my own Napoli sauce to drizzle over the vegetables, because I make the sauce onion-free. * I slice 2 eggplants (for 4 people). Make sure the slices are consistent in thickness, for even cooking. Before you roast the eggplant slices, it is much better to lay the slices across a cooling rack, and sprinkle with sea salt. The salt draws the bitter water from the eggplant. Leave them for about 45 minutes to an hour, if you can. Then give them a good rinse with clean water and pat dry. Brush with olive oil. * Slice the zucchini, however you like. If you like to leave skin on, that's fine. I try to slice them in a rectangular shape. Brush with olive oil. * Place the eggplant and zucchini slices on lined baking trays, in the oven for about 30 minutes, at around 180 degrees, give or take. Turn the slices over several times for even cooking. You'll be able to tell once they are starting to cook well, as they will dry out slightly and start to darken in colour. Alternatively, you can always grill the slices (but my grill doesn't work properly). * I pan fry the haloumi, although again, you can grill it, or even oven roast it. * Stack the ingredients however you like. I usually stack them in the order of eggplant, haloumi, zucchini, Napoli sauce. It doesn't really matter. You might like to try other vegetables in the stack too (eg. capsicum, mushroom), and I have seen people use a piece of cooked polenta as a base for the stack. The choice is yours! This is a lovely soup that I found last year, on taste.com.au. I was going to spend Tuesdays with my Grandy, and he was a vegetarian. Plus, he loved to eat soup. He was a bit of a plain eater-nothing fancy. I wanted to make him some soup that we could just heat up and eat on our Tuesdays. He really liked this-even though it has broccoli in it-which he didn't like (although I didn't find this out until later). He would have 2 bowls of it, which, for him, was a lot! I always think of him when I make this soup now. :) This soup freezes well, which is good, as you know I like to make a big batch and freeze some...Also, I always make this in a double batch, because we all love it! Ingredients: * Olive oil * 1 leek, white part only, sliced (I used about a cup of chopped spring onion instead) * 1 head of broccoli, chopped (You can use the thick stalk, because you will blend it up) * 2 zucchini, trimmed, chopped * 1 Pontiac potato, diced (I just use whatever potato I have in the cupboard) * 4 cups (1 litre) of chicken or vegetable (If you like the flavour of chicken stock, but are vegetarian, Massel makes 'chicken style' stock, which tastes like chicken but it is vegan) * 75g mild blue cheese, crumbled * 1/3 cup (80ml) of thin cream (I use light cream) Heat the oil in a large saucepan over medium heat. Add the leek and cook, stirring for 5 minutes or until soft. Add the broccoli, zucchini, potato and stock and bring to a simmer. Reduce heat to low and cook, stirring occasionally, for 15 minutes, or until vegetables are just tender. Remove from heat and set aside for 10 minutes to cool slightly. Transfer broccoli mixture to the jug of a blender (I do this in several batches). Add the cheese and blend until smooth. Return to a clean saucepan and place on a low heat. Add the cream and stir to combine. Taste and season with salt and pepper. 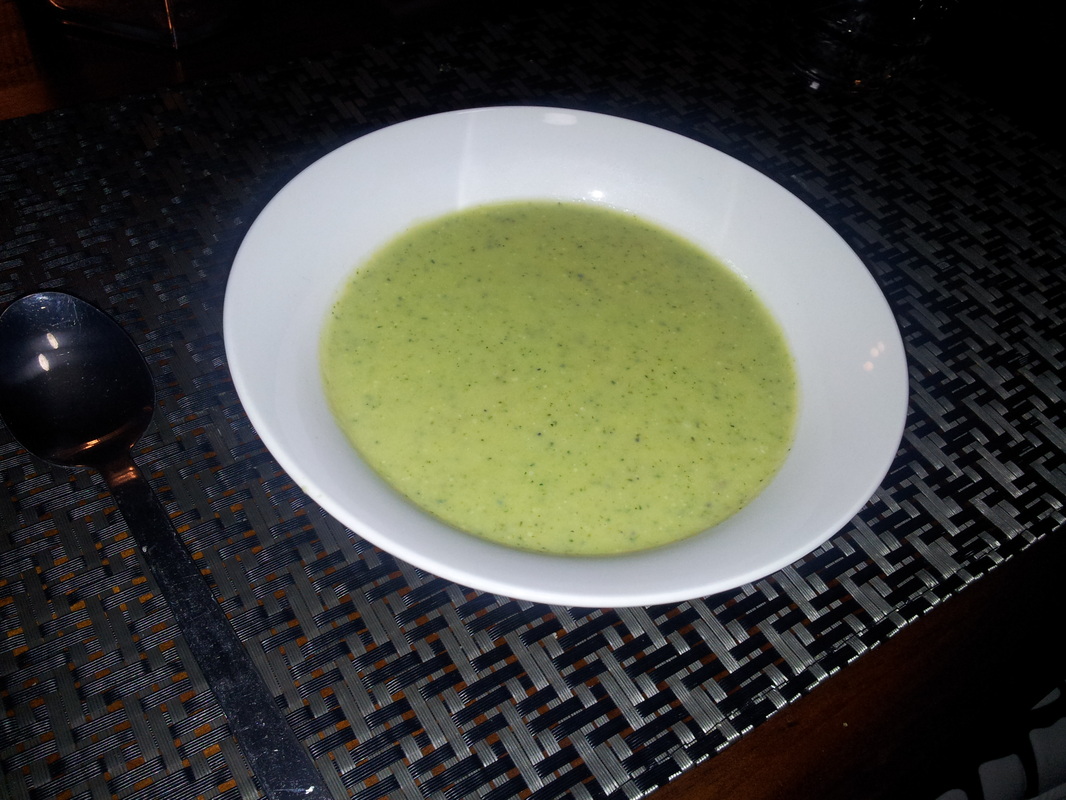
Tomorrow my boyfriend is taking part in the 'Biggest Morning Tea,' which is a charity event to raise money for the Cancer Council. His work is running it, and he wanted to bring some gluten free treats to share. I am always nervous sending food out into the world: 'What if they hate it?' 'What if it tastes awful?' etc. etc. etc. So I went to my FAVOURITE food website, Brown Eyed Baker. Every time I have made something using recipes from this site, people have raved about it. It has never failed me, and that is even with the gluten free conversion! First, I made Chocolate Chip Cookie Dough Brownies. I want you to look at how great Brown Eyed Baker is, so I'm not posting the recipe here. Instead, here is the link: http://www.browneyedbaker.com/2011/07/21/chocolate-chip-cookie-dough-brownies/ As expected, these turned out lovely! Next, I wanted to try a recipe I found on while trawling pinterest (which is steadily becoming an addiction for me!): Chocolate Walnut Butter Tart Bars. Apparently this is a Canadian recipe. It was very easy to make! And tasted fantastic too! The filling caramelised, and ohh..Words fail me! Here's the link to this one: http://www.nlrockrecipes.com/2012/11/chocolate-walnut-butter-tart-bars.html Here's hoping they are enjoyed by the many people getting together tomorrow, for a great cause. On the left are the Cookie Dough, and on the right, the Chocolate Walnut... 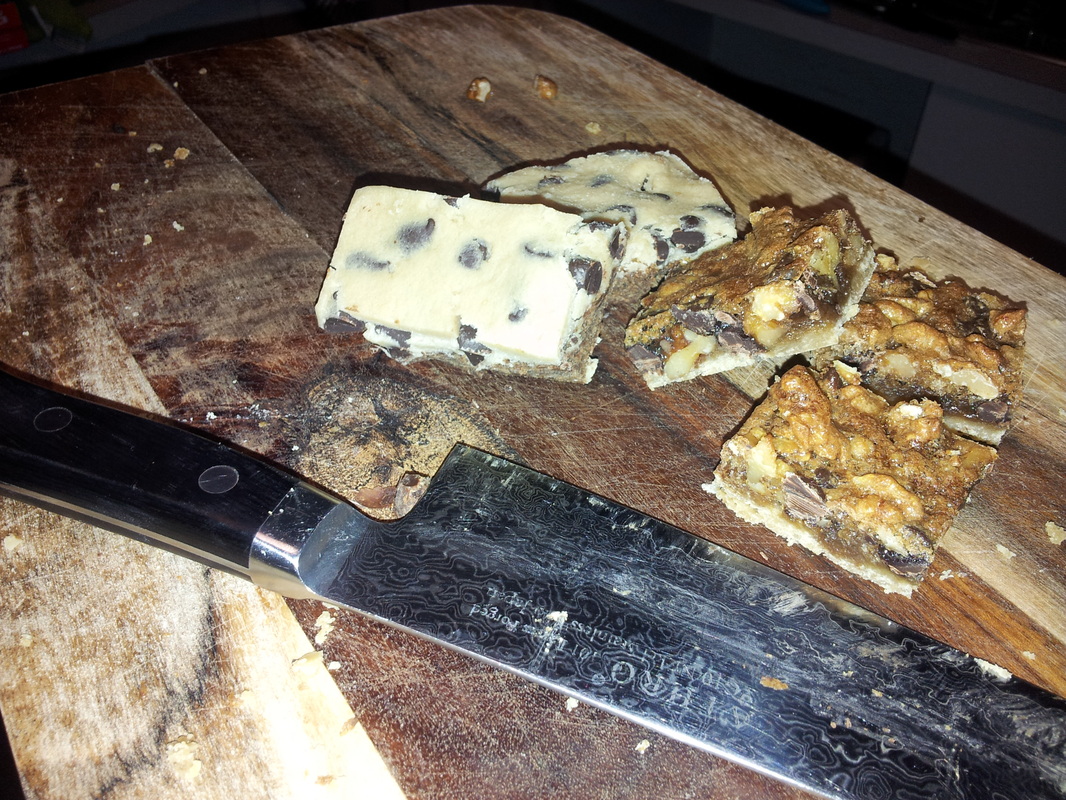
| AuthorI'm a 20-something teacher, with very eclectic tastes. I have recently discovered that I love to cook! ArchivesSeptember 2013 Categories |
 RSS Feed